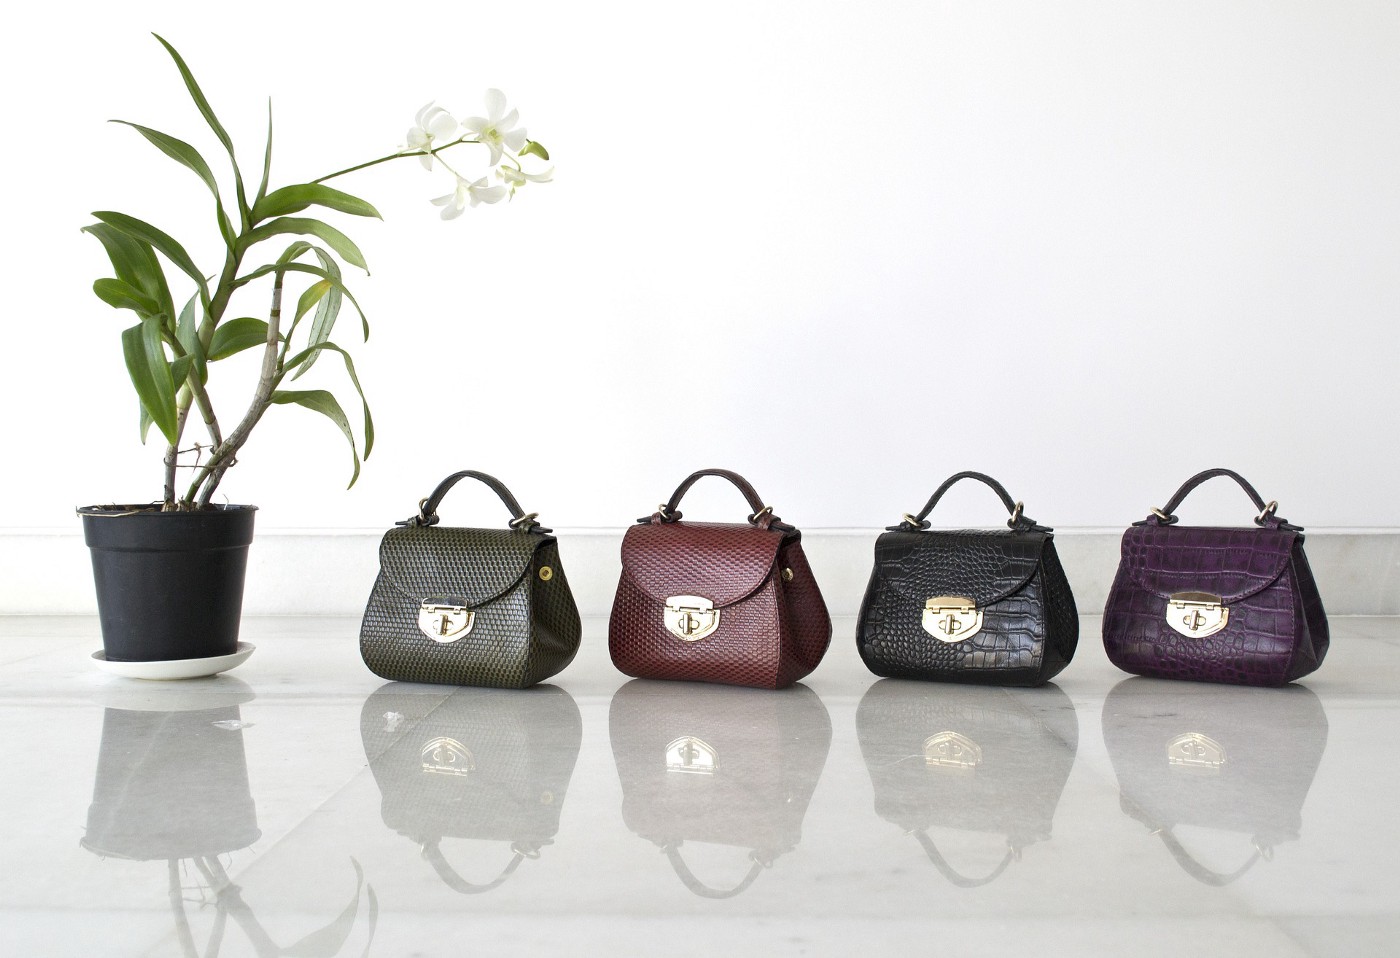
Product photos shot for the purpose of advertisements are retouched to enhance their quality and help customers choose the right product as per their needs. Retouching ensures that the product photo looks as similar as possible to the product in the real world. Today, in this microblog let us discuss a few common techniques used by retouchers.
Eliminate: Elimination is one of the crucial processes involved in product photo retouching. This process is not just limited to dirt, dust or scratches. In this step spot healing brush and the patch tool is used to remove any attributes that do not belong to the image. Making too many eliminations can compromise the clarity of the end image.
Evaluate: The purpose of product photo retouching is to come up with the best possible images. So, it is essential to analyze the product that needs to be retouched. In this step factors such as lighting, shadow and the overall look of the product are evaluated and compared to the image of the product captured by the photographer. Through this analysis, we will be able to find the areas of the product which need maximum attention during the retouching process. Imperfections in the image are identified at this stage.
Noise addition: In this step, slight noise is added to the product image resulting in the blending of the tones. Adding noise results in diminishing any banding resulting in better image clarity.


